Church Construction
Back to the main page
Stage 0 - Ground work
Stage 1 - Assembling the walls
Stage 2 - Wall construction complete
Stage 3 - Bell tower
Stage 4 - Church Roof
Stage 5 - Finishing Touches
Stage 6 - The Finished product!
Stage 0 - Gathering the pieces
Skill Jigsaw
-
Here is the jigsaw used to cut the wall sections to size
-
The base rotates up to 45 degrees which helps a lot when cutting the corners
CrackShot spackle
-
Used to fill in spaces at the corners and to texture the inside of the
church
-
Much easier to work with than using any sort of casting material as fill
Foundation of the Church
-
Foam card glued and tacked to the 1/2" plywood base
-
The foam card is 3/16" thick and consists of two thick sheets of paper
with foam separating them
Mold for the walls and a few of the castings
-
Made out of 1/8" thick polystyrene (plastic)
-
Each brick carved with a dremel
-
12" wide and 5" high
-
The side walls for the casting are 1/2" tall and secured with masking tape
before each pour
Dremel mounted in the vice
-
This is one of the main tools used in creating the church
-
The Dremel I use is a variable speed 5,000-30,000RPM
11 of the wall section castings
-
All of these will be used for the church plus a few additional casts will
be needed for the tower
-
Lightweight Hydrocal by Woodland Scenics was used for the casting - buying
in the 5 gallon bulk quantity is highly recommended since their half gallon
containers are quite expensive
-
2 1/2 cups hydrocal and 1 cup water fills the mold with just a bit left
over after each pour
-
Pam cooking spray (seen to the left) is sprayed on the mold to yield a
clean separation of the casting from the mold
-
These castings were poured over about three weeks
-
Wall section casting steps:
-
Assemble the side walls of the mold using masking tape
-
Place the mold on a mobile board and set both on a table
-
Spray the mold lightly with Pam cooking spray
-
Mix 2 1/2 cups of Lightweight Hydrocal with 1 cup water in a bowl
-
Pour the material in from the bottom center of the mold slowly. This
way the material pushes away the air which results in fewer bubbles on
the face of the casting.
-
Vibrate the board which the mold in all directions to work the air bubbles
to the surface and away from the face. Continue this for about 5
minutes.
-
Let casting set for at least 20 minutes.
-
Gently pull away the side walls from the casting
-
Hold the mold upside down with hand supporting the casting. If the
casting does not simply fall out of the mold with little or no coaxing
then either cooking spray was forgotten or the casting needs to set longer.
-
Set the casting aside and let sit for at least 24 hours before attempting
to cut it.
-
A week or more was allowed before the castings were cut to size
Stained glass used in the windows
-
The 'glass' is actually transparency paper
-
I found a few pictures of Medieval stained glass on the web, chose four,
and replicated them three times to fit on a sheet
-
A laser printer at Kinko's worked extremely well for creating a fairly
realistic miniature reproduction of stained glass
Another picture of the windows
-
A few of the outside window flashings can also be seen which the 'glass'
will be affixed to
-
The outside flashing castings are the results of another mold created from
polystyrene and carved with the dremel
-
Sculpt-a-Mold was used instead of hydrocal for these castings to provide
more flexibility in the casting
Stage 1 - Assembling the walls
Right side of the church
-
A few of the foam card walls have been attached to the foundation with
pins and Elmer's glue
-
Some of the casted wall sections have also been affixed to the foam card
using Elmer's as well
-
The wall sections were cut to size using a jig saw which allowed for easy
45 degree cuts
-
CrackShot wall spackle was used to fill in the gaps where the wall sections
met
-
The window holes were cut with an Exacto knife
-
The arched doorway consists of two pieces of foam card glued together -
again the Exacto was used to cut the doorways
Left side of the church
-
The holes in the casting were cut with the dremel using a side-cutting
bit
-
Cutting did not need to be exact since both the inside and outside of the
windows would be covered with flashing
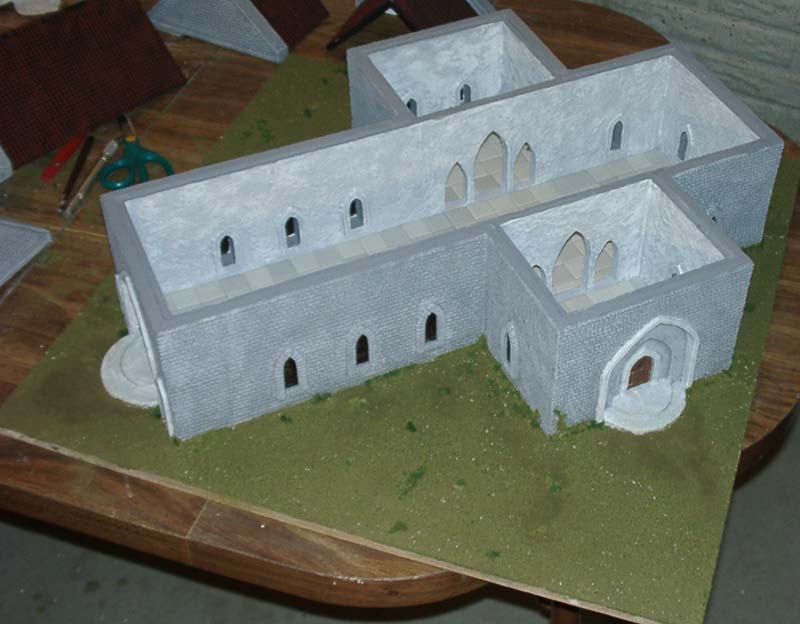
Top view of the church
-
Inside flashings around the windows can be seen from this angle
-
The inside flashing was also created from polystyrene, but no bricks were
cut
-
Again, Sculpt-a-Mold was used for the casting material to provide more
flexibility
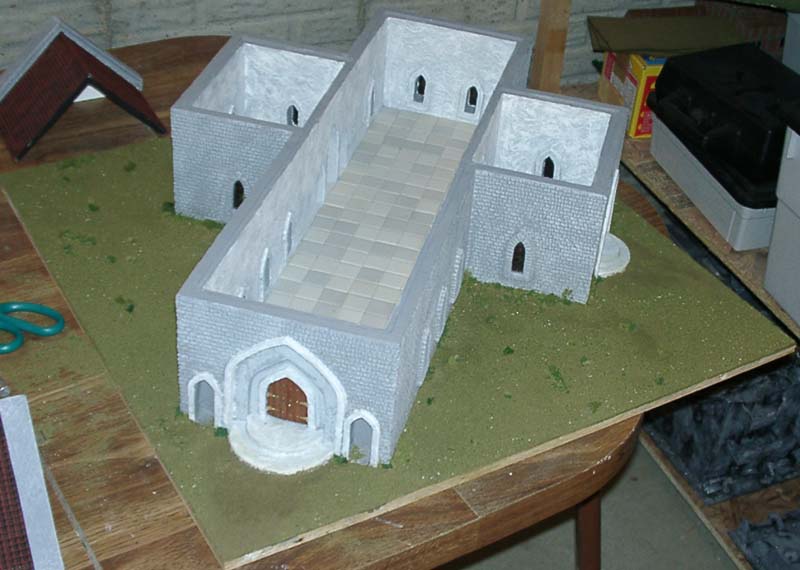
Stage 2 - Wall construction complete
Top view of the church
-
All walls have been assembled
-
Inside window flashings have all been added as well
-
The floor will be covered by 1" ceramic tile - the tile is not attached
yet, just getting a feel for how it will look
-
Unfortunately the tile isn't exactly 1" so some half tiles will have to
be cut - nothing the Tile Nippers can't handle
-
Two crossbow men (partially panted) can be seen - they were used to help
keep a feel for scale
Front of the church
-
Although this picture is a bit bright, the two statue niches can be seen
flanking the doorway in the front of the church
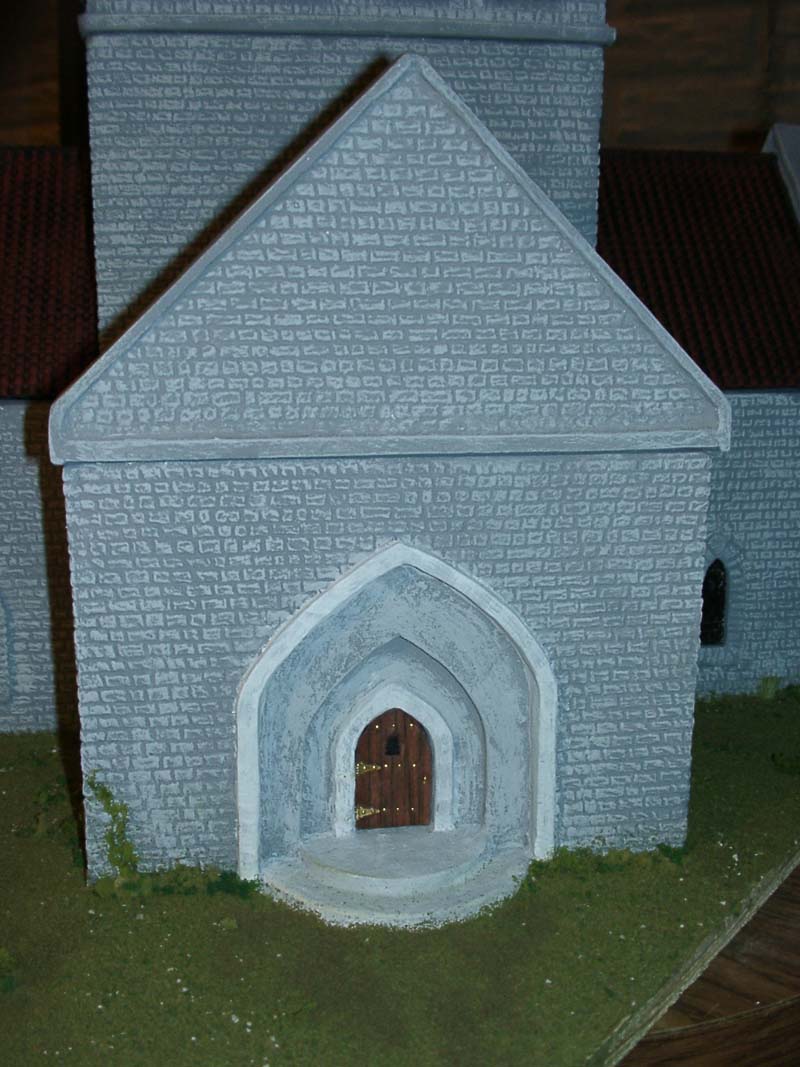
Side view of the church
-
Both arch ways can be seen from this angle
-
The side doorway with the cut in arches can also be seen
-
The front and side doors and corresponding arches are very similar - the
front is just a bit larger
Opposite side view
-
The front doorway and statue niches can be seen more easily in this view
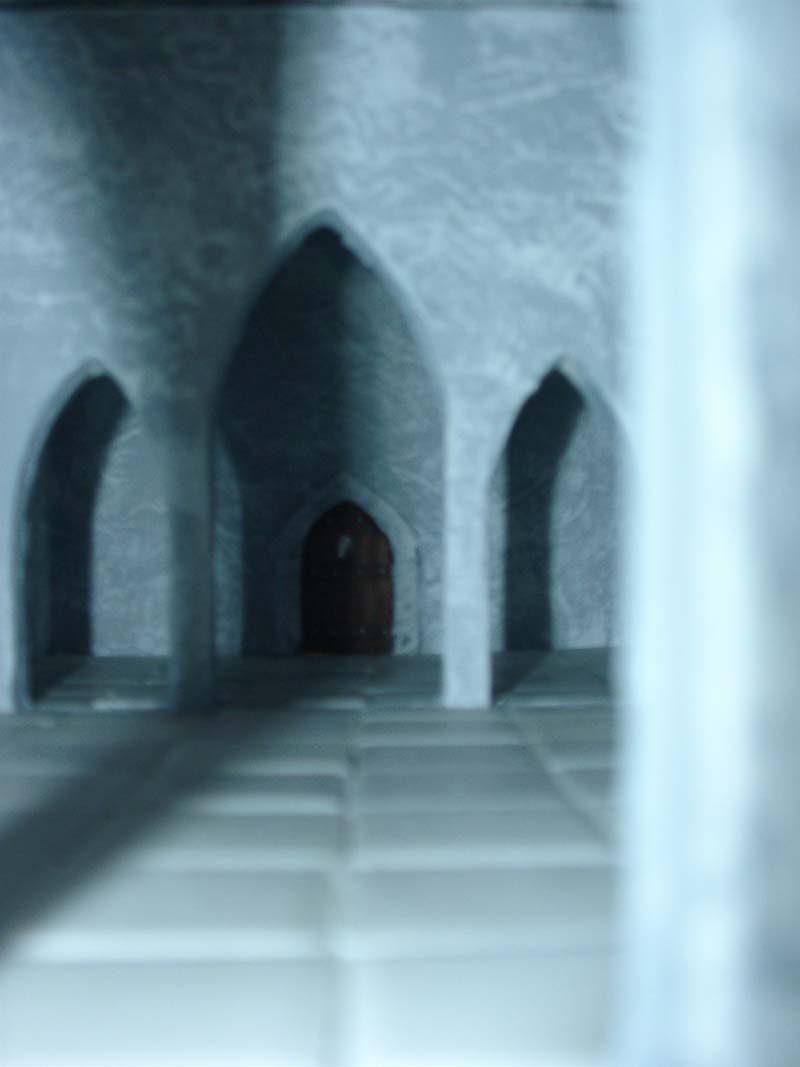
Archway picture
-
Shooting from the right side doorway through both arches resulted in a
fairly interesting picture.
-
The shadows cast from the arches produce an interesting effect
Stage 3 - Bell tower
Floor of the first floor
-
The floor is made of one piece of balsa wood which will fit inside the
tower
Front view of the second story tower and the
tower roof
-
Only foam core makes up the roof in this picture. Thin polystyrene
will be put over the roof along with small styrene strips to give it a
'metal' look.
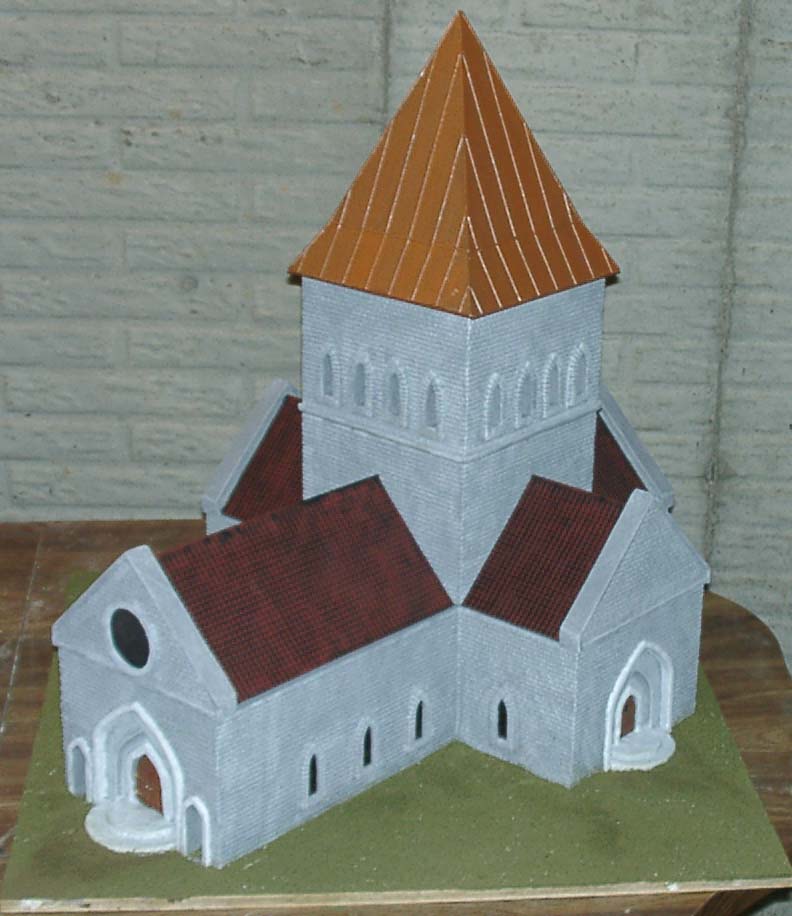
Angled view of the second story tower and
the tower roof
-
The goal is to make the roof look like aged copper
Stage 4 - Church Roof
Sheet of roofing material
-
The sheet material is a Plastruct plastic sheet
-
Initially the plan was to cast the roof sections using the sheet as a mold,
but the roof sections would have been too heavy and fragile
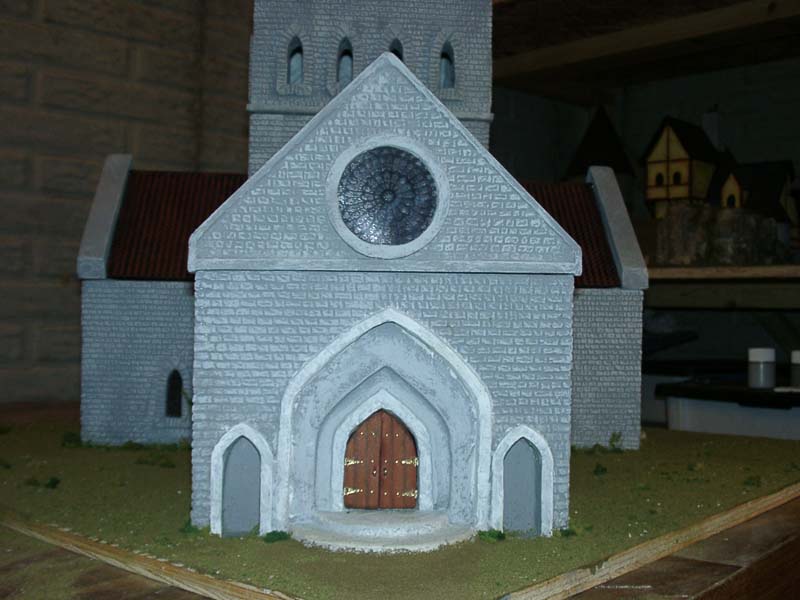
Front view of the church
-
All roof sections in place and the 2" diameter window in front has been
cut
-
Level 1 of the tower is also in place
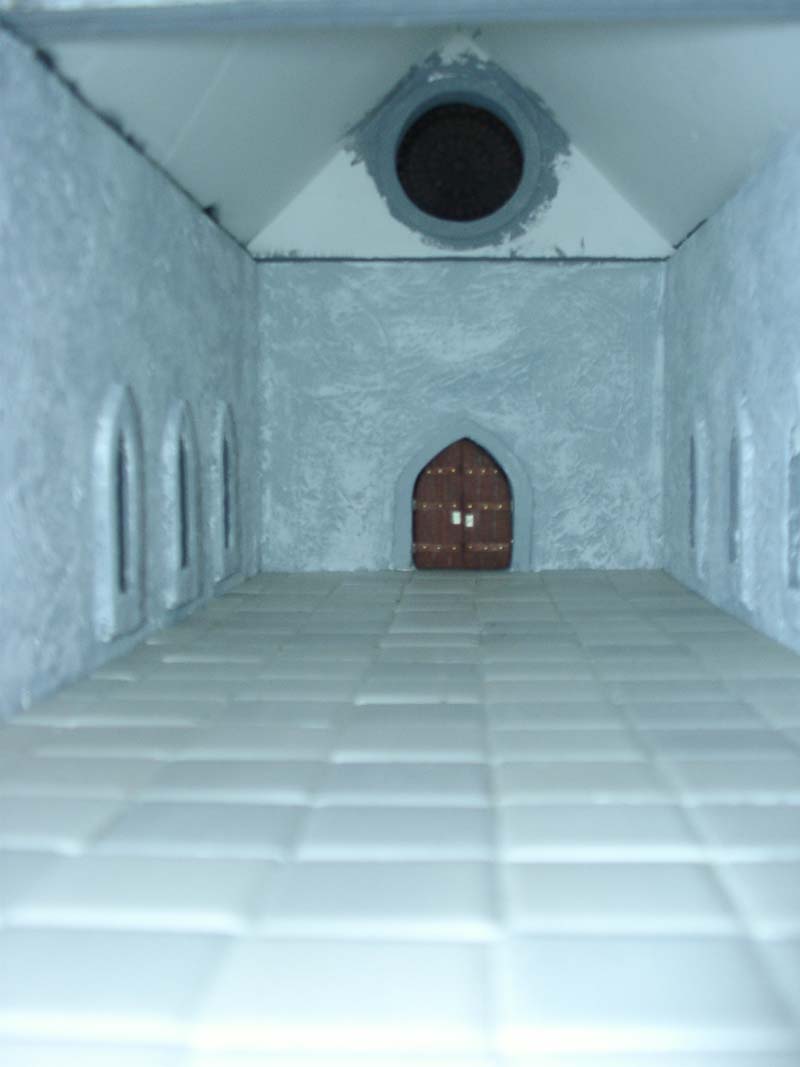
Looking from the inside out the front window
-
The timer on the camera was used to produce an 'inside view' of the church
Looking from the front door towards the back of the
church
-
The floor is a bit dirty, but the triple arches can be seen to the right
and left and the windows can be seen clearly at the far end of the church
-
The physical size of the inside length of the church is 22 inches which
equates to about 110 feet after taking into account the 5' to 1" scale
Side view of the church with the side roof section
removed
-
A good view of the triple arches and the access door to the tower
-
A movable ladder will be used to give the miniatures access to the tower
Looking inside the church from the top
-
The floor of the first floor of the tower will obscure this view when the
church is complete
Both front and side doors visible with all roof
sections in place
-
Both doorways can be seen including the circular stairs in front of each
Stage 5 - Finishing Touches
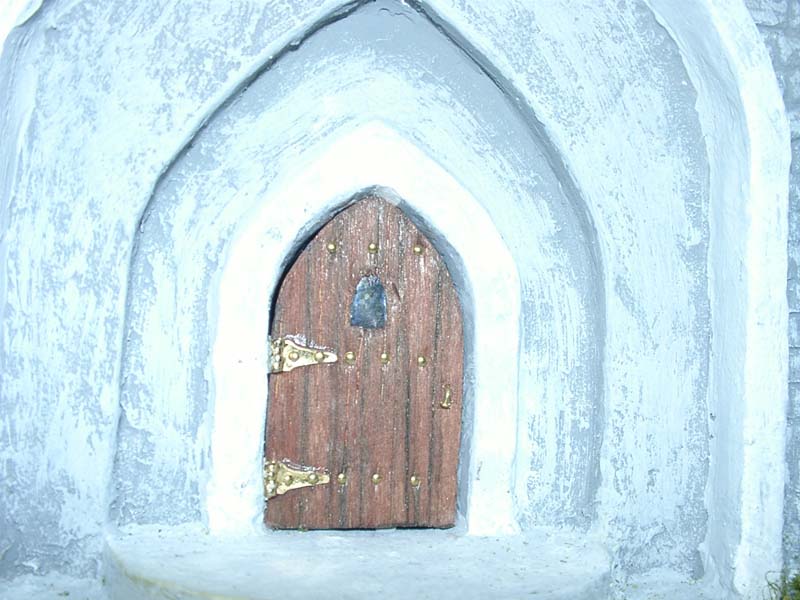
Side door
-
Side door just set in place to see how it fits
-
The very small hinges will allow the door to open and close nicely
-
The small arched window in the door will be stained glass similar to the
other windows
New stained glass window patterns
-
The old set of stained glass prints didn't really go very well with the
large rose window chosen for the front. The new set actually are
in the same building (Nortre Dame Cathedral) as the rose window.
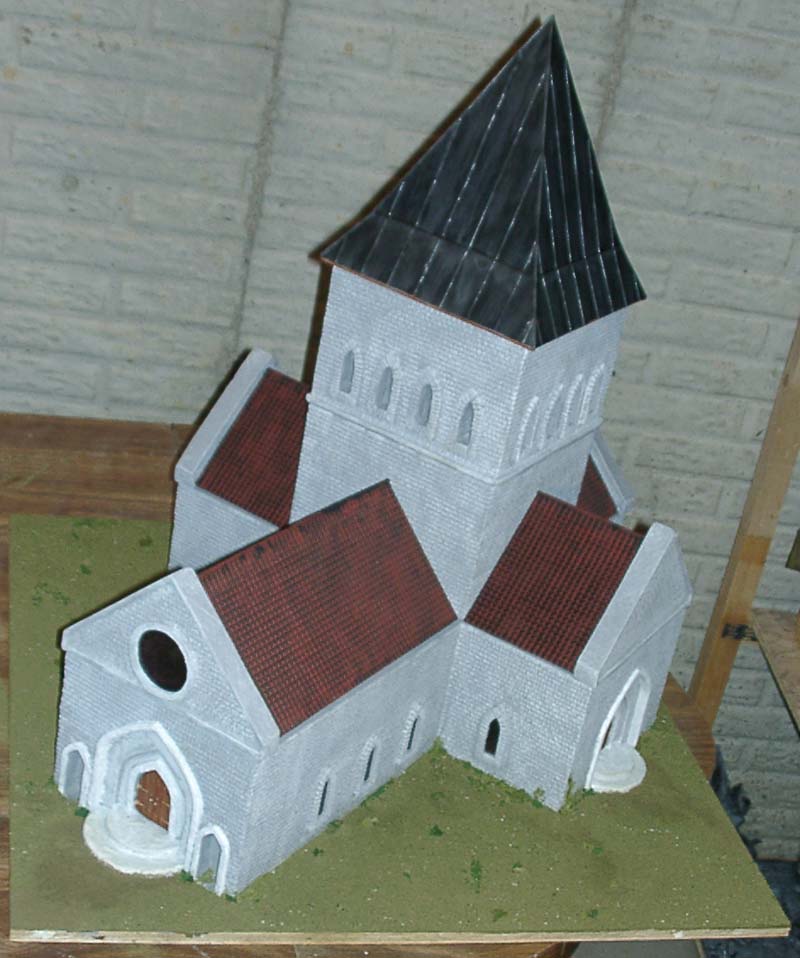
Stage 6 - The Finished Product!
View from the front angle
-
The base has been flocked with Woodland Scenics turfing material.
View from another front angle
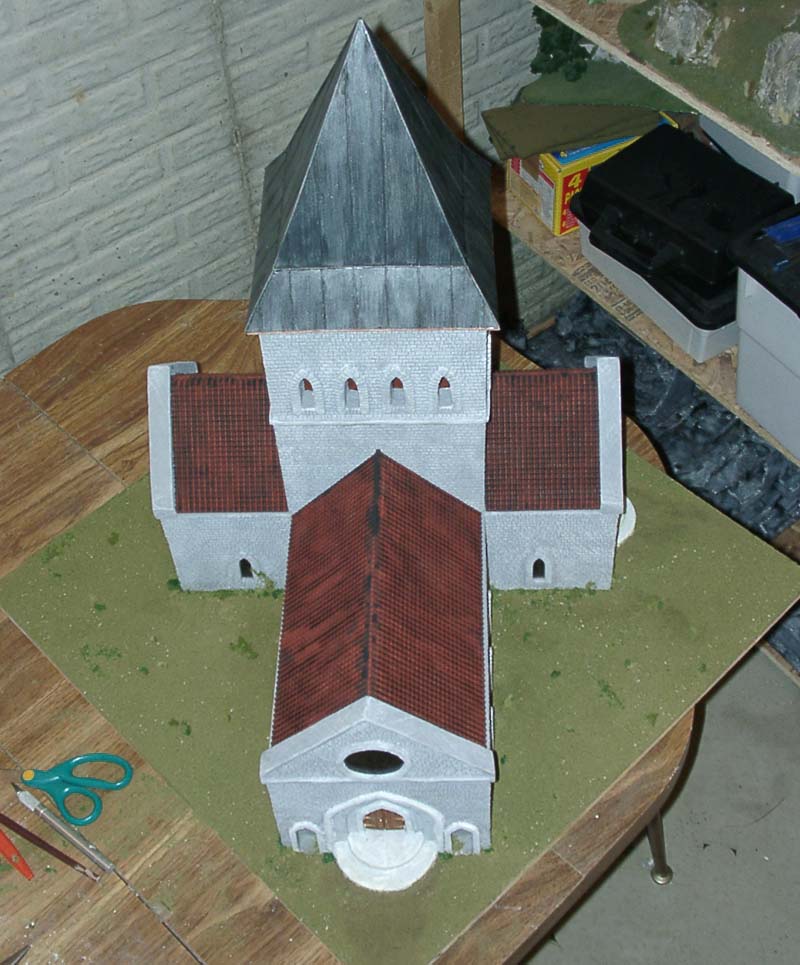
Looking from a top angle
Looking directly down from the top
-
Not a particularly useful shot, but it does give an aerial view of the
church accenting the cross shaped floor plan.
Tower roof removed
-
Miniatures can take up positions in the top tower level.
-
The center is open and surrounded by a railing.
-
A ladder going to the first tower level is the only way up or down.
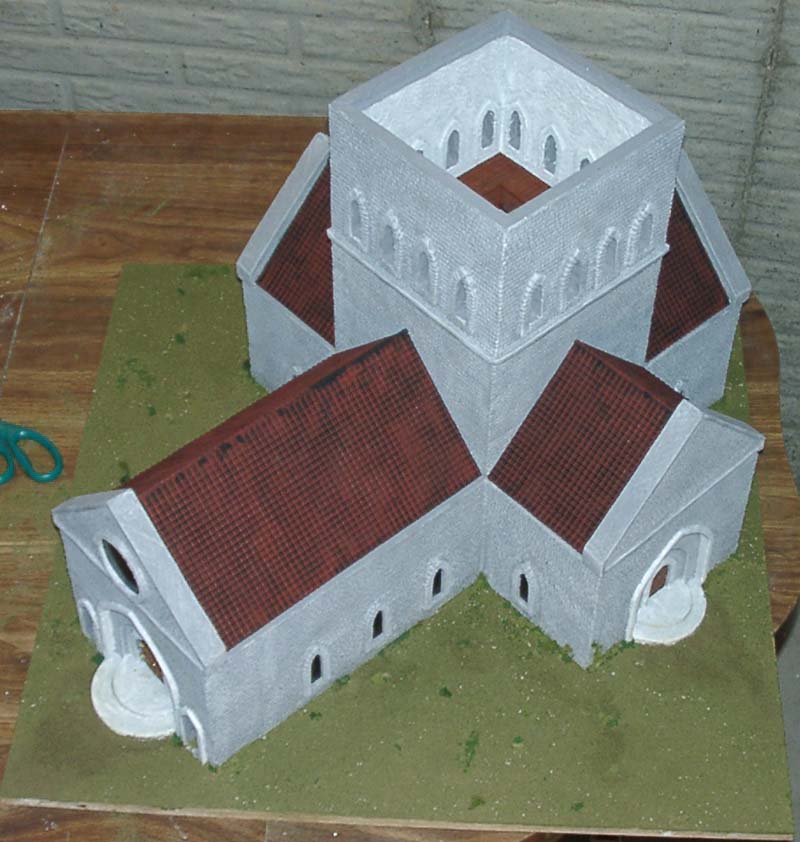
All roof and tower sections removed
-
The entire inside of the church is playable.
Another shot of all sections removed
from a side angle
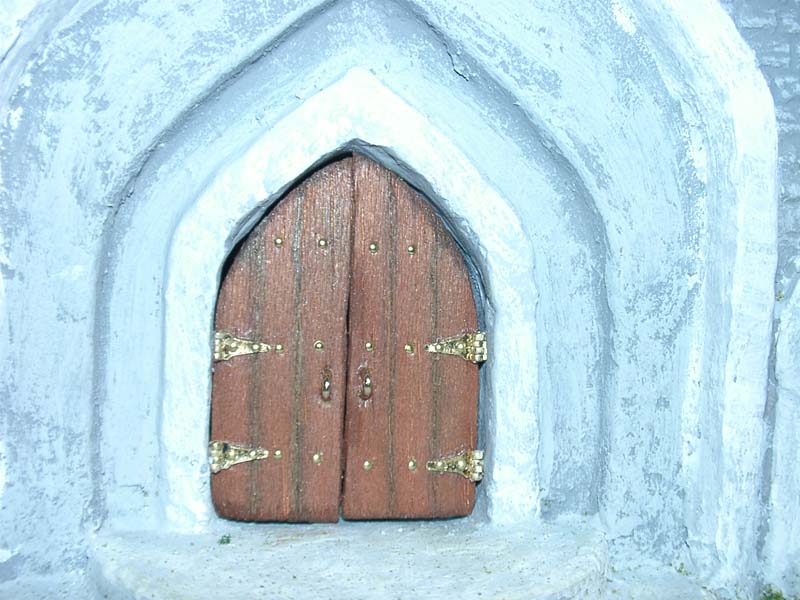
Front doors installed
-
The metal work is mostly from doll house materials which can be found at
Hobby Lobby
-
The handles are actually made from pieces of a pair of old eye glass frames.
Side door installed
-
The side door also uses doll house hinges and metal nails.
-
The 'stained glass' from the front window was made using the same transparency
technique used for the windows.
View of the side door
Front of the church
-
Good view of the rose window - since it is dark inside it is difficult
to get a good view of the design on the window.
-
The statue niches still stand empty. Still need to find something
to fill them.
Inside the church looking towards
the front doors
-
If it wasn't for this picture the inside roof probably would never be finished...
Looking at this photo will probably be enough for me to at least paint
the rest of the inside roof.
Inside the church looking towards the
side door
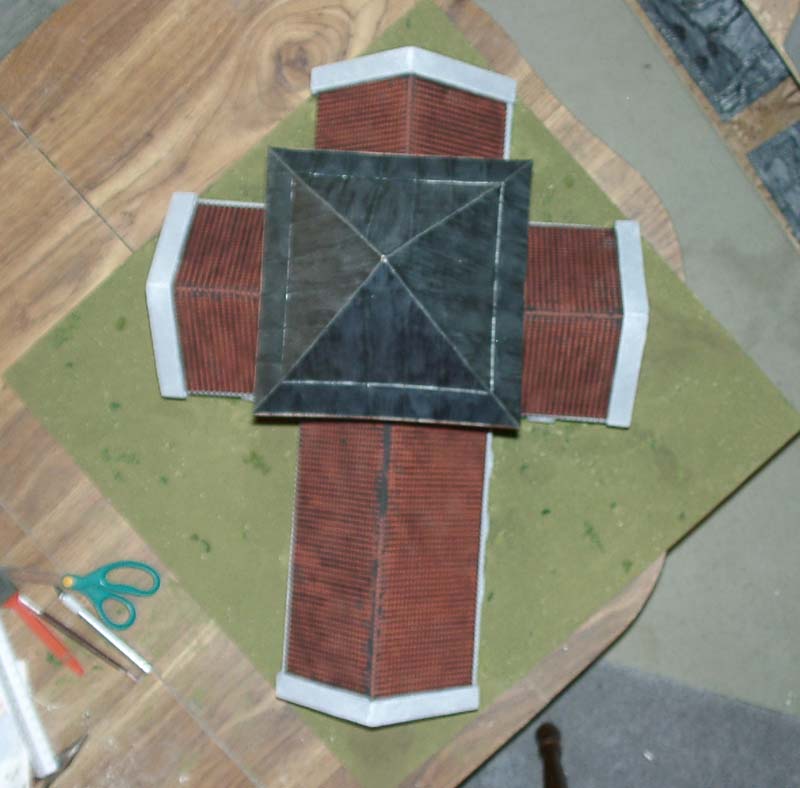
Copper roof view from the front
-
The roof was initially painted copper, but it just didn't seem to fit with
the rest of the church.
-
The original plan was to make the copper look aged by painting it greenish,
but it was decided that the green would be overpowering.
-
A dark metallic was chosen instead.
Copper roof view from the side angle